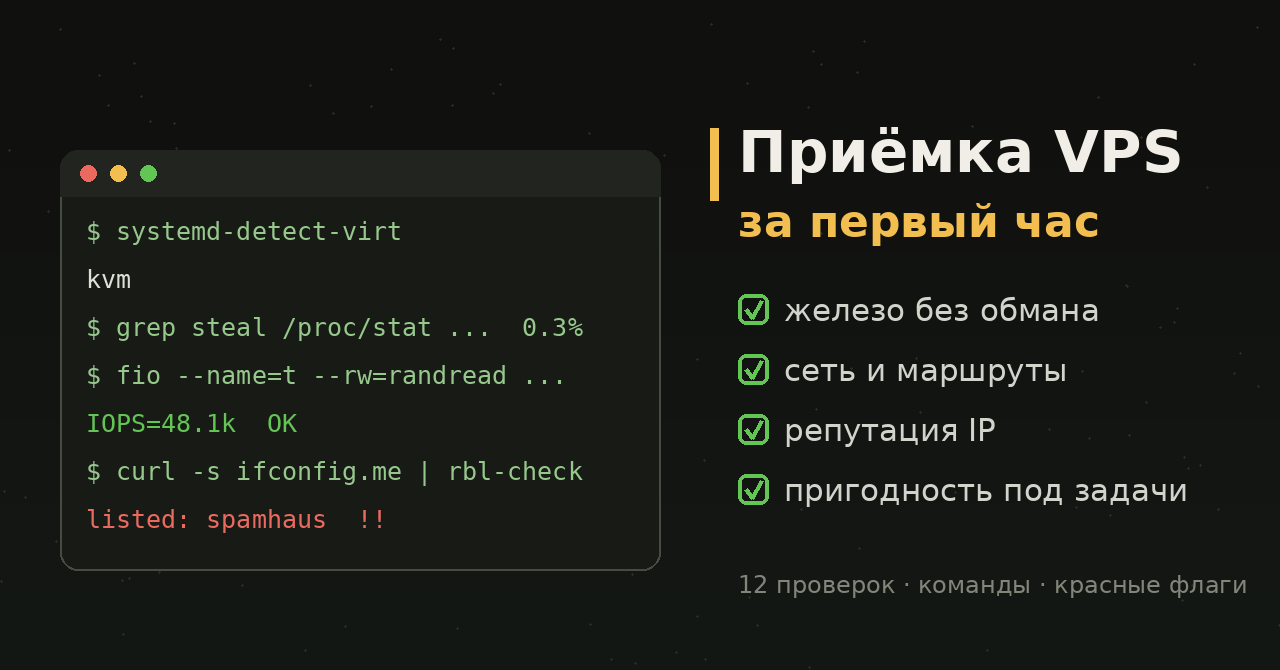
Новый VPS — как машина с пробегом: снаружи блестит, а что под капотом, выясняется потом. Хостер обещал «выделенные ядра NVMe-диски 10 Гбит/с», но на витрине не написано, что сосед по ноде майнит, IP до вас рассылал спам и сидит в трёх чёрных списках, а «NVMe» выдаёт скорость обычной SATA, потому что нода перепродана вдвое.
У большинства хостеров есть окно, когда деньги можно вернуть или тариф поменять без потерь: где-то это официальный moneyback на 3–30 дней, где-то первые сутки-двое, пока саппорт лоялен к новому клиенту. Значит, у вас есть примерно час честной работы, чтобы прогнать сервер по всем пунктам и решить: оставляем или возвращаем.
Все проверки ниже делайте до того, как начнёте обживать сервер. Когда на VPS уже переехали прод, панель и полтора десятка контейнеров, психологически проще смириться с плохим диском, чем переезжать. Голый сервер вернуть легко — обжитый почти никогда.
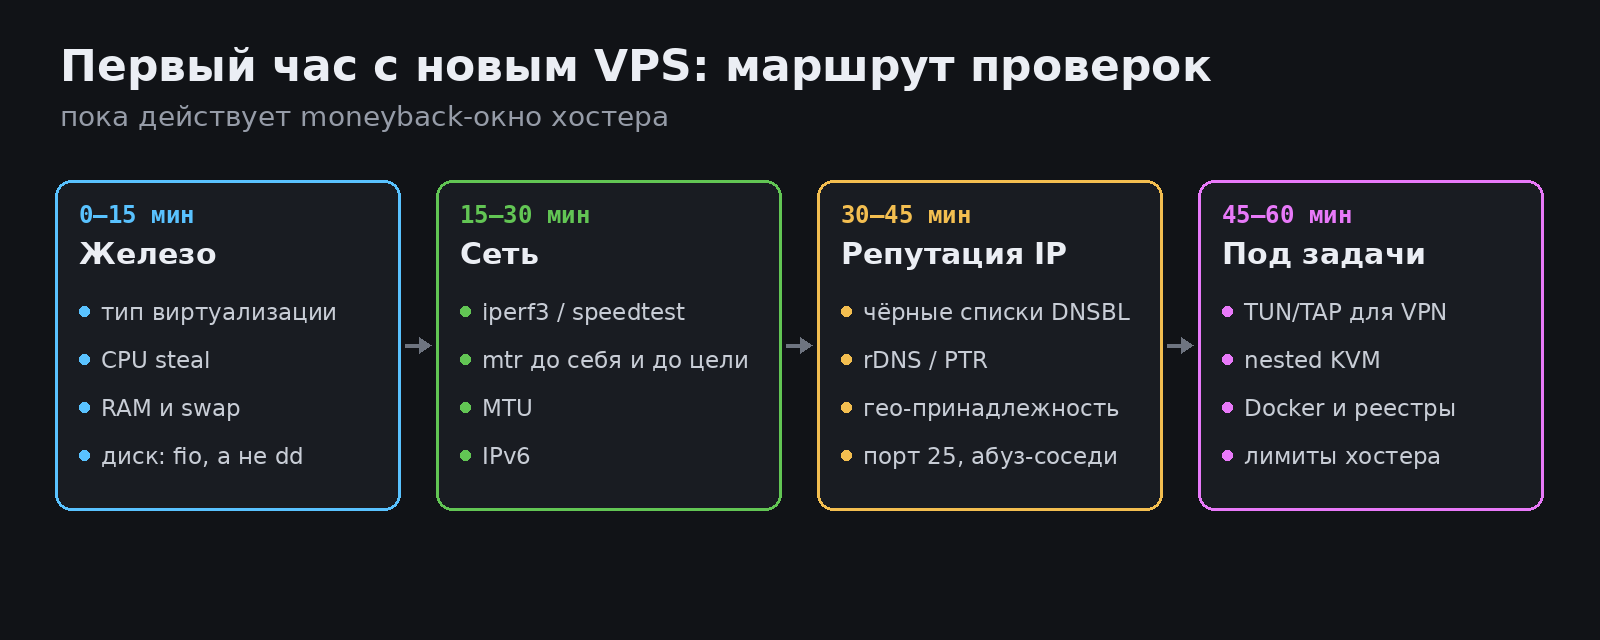
Этап 1. Железо: 0–15 минут
Проверка 1. Какая виртуализация на самом деле
systemd-detect-virt
Ответ kvm — хорошо: у вас своё ядро, работают WireGuard в ядре, TUN, Docker без оговорок. Ответ openvz или lxc — вы в контейнере на чужом ядре: часть модулей недоступна, память может считаться хитро, а «гарантированные» ресурсы часто означают «гарантированно перепроданные». Для прокси-сервера или докер-стека берите KVM — контейнерную виртуализацию имеет смысл терпеть только за совсем небольшие деньги.
Проверка 2. CPU: модель и украденное время
lscpu | grep -E "Model name|MHz"
vmstat 1 5
В vmstat смотрите последнюю колонку st (steal) — это процент времени, которое гипервизор отнял у вашей виртуалки в пользу соседей. На здоровой ноде steal держится около 0–1 %. Стабильные 5–10 % и выше — нода перегружена, и никакой тариф это не лечит: в пиковые часы ваш прокси будет «жевать», хотя по графикам всё свободно.
Проверка 3. Память без сюрпризов
free -h
dmesg | grep -i -E "oom|killed process"
Сверьте объём с тарифом, посмотрите, есть ли swap (на многих шаблонах его нет — для VPS с 1 ГБ ОЗУ это будущие падения контейнеров). Сообщения OOM-киллера на свежевыданном сервере — плохой знак: либо шаблон кривой, либо память уже под давлением.
Проверка 4. Диск: fio, а не dd
Классический dd if=/dev/zero of=test bs=1G count=1 меряет не диск, а кэш записи и умение хостера сжимать нули. Цифра «1.2 GB/s» из dd не значит ничего. Единственный честный инструмент быстрой проверки — fio с прямым доступом (--direct=1).
apt install -y fio
fio --name=t --filename=test.fio --size=1G --direct=1 \
    --rw=randread --bs=4k --iodepth=64 --runtime=30 --time_based
fio --name=t --filename=test.fio --size=1G --direct=1 \
    --rw=randwrite --bs=4k --iodepth=64 --runtime=30 --time_based
rm test.fio
Ориентиры для случайного чтения 4k: настоящий NVMe — от десятков тысяч IOPS; SATA SSD — примерно 5–15 тысяч; если видите сотни IOPS, вам продали HDD или нещадно зарезанный лимитами диск, как ни называй его в тарифе. Для базы данных, Nextcloud или Immich это приговор.
Этап 2. Сеть: 15–30 минут
Проверка 5. Полоса
apt install -y iperf3 speedtest-cli
speedtest-cli --simple
Одного замера мало: прогоните тест днём и вечером в пиковые часы. «До 10 Гбит/с» в тарифе — это скорость порта, а не гарантия; честный вопрос — сколько сервер держит стабильно. Для iperf3 возьмите пару публичных серверов из списков в сети и проверьте в обе стороны (-R для обратного направления).
Проверка 6. Маршруты и задержки
apt install -y mtr-tiny
mtr -rwbzc 20 <ваш-домашний-IP>
Запустите mtr с сервера до себя и с домашней машины до сервера — маршруты бывают несимметричными. Смотрите на итоговую задержку и потери на последних хопах (потери в середине трассы на транзитных узлах — норма, они просто режут ICMP). Для VPS под прокси задержка до вас важнее мегабитов: 60 мс против 120 мс — это разница между комфортным видеозвонком и «ты завис».
Проверка 7. MTU и фрагментация
ping -M do -s 1472 8.8.8.8
Если пакет 1472 + 28 байт заголовков = 1500 не проходит, где-то по пути туннель с уменьшенным MTU. Само по себе не смертельно, но это источник самых мистических багов вида «сайты открываются наполовину», особенно поверх WireGuard, — лучше знать заранее, уменьшая размер до первого проходящего значения.
Проверка 8. IPv6
curl -6 -s ifconfig.co && ping -6 -c3 2001:4860:4860::8888
Заявленный IPv6 нередко оказывается ненастроенным или маршрутизируемым через полмира. Если он вам нужен (а для обхода блокировок запасной семейство адресов лишним не бывает) — проверьте, что он реально ходит наружу.
Этап 3. Репутация IP: 30–45 минут
Самый недооценённый этап. Железо можно потерпеть, сеть хостер может починить — а вот грязный IP будет портить жизнь молча и ежедневно.
Проверка 9. Чёрные списки
Узнайте свой IP (curl -s ifconfig.me) и прогоните его через check.spamhaus.org и агрегатор MXToolbox Blacklists, который опрашивает несколько десятков DNSBL разом. Листинг в паре мелких списков — обычное дело для любого хостинг-диапазона; листинг в Spamhaus SBL/XBL — повод сразу просить замену IP или возврат.
Проверка 10. rDNS и порт 25
dig -x $(curl -s ifconfig.me) +short
timeout 5 bash -c "cat < /dev/null > /dev/tcp/smtp.gmail.com/25" && echo "25 открыт" || echo "25 закрыт"
PTR-запись вида spam-relay.old-client.tld расскажет о прошлом адреса больше любого сканера. Возможность поставить свой rDNS в панели — признак взрослого хостера. Закрытый исходящий порт 25 для большинства задач не проблема (и даже гигиена), но если планируете свой почтовый сервер — это стоп-фактор, выясняйте политику разблокировки заранее.
Проверка 11. Как ваш IP видят сервисы
Посмотрите на ipinfo.io и аналогах: та ли страна определяется, не помечен ли адрес как hosting/proxy/VPN — и главное, откройте с сервера те сервисы, ради которых он покупался. Диапазоны дешёвых хостеров сервисы банят целыми подсетями и ASN за грехи соседей: сегодня всё работает, завтра весь /24 в бане. Целиком от этого не застраховаться, но стартовать с уже забаненного диапазона точно не стоит. Если сервер берётся под обход блокировок — сверьтесь с нашим разбором диагностики блокировок, чтобы отличать бан сервиса от блокировки провайдера.
Этап 4. Пригодность под задачи: 45–60 минут
Проверка 12. TUN, Docker и лимиты хостера
ls -l /dev/net/tun        # должен существовать
grep -cE "vmx|svm" /proc/cpuinfo   # >0 — есть флаги для nested-виртуализации
Без TUN не заработают ни WireGuard, ни OpenVPN, ни sing-box в TUN-режиме — на KVM он есть всегда, на контейнерных VPS его нужно включать в панели, и не у всех он вообще есть. Затем поставьте Docker и убедитесь, что docker run hello-world проходит, а нужные реестры доступны — если образы не тянутся, поможет наша инструкция про зеркала Docker Hub.
Последний пункт — не техника, а документы: перечитайте ToS хостера. Пункты про запрет VPN/прокси, «fair use» безлимитного трафика с реальным потолком и правила реакции на абузы — всё это выясняется за пять минут чтения и экономит недели переписки с саппортом.
Не хочется собирать команды руками — есть комбайн YABS: curl -sL https://yabs.sh | bash прогонит fio, iperf3 и Geekbench одним заходом. Удобно и для сравнения хостеров между собой: вывод стандартизирован, результаты легко класть рядом. Но этапы 3 и 4 (репутация и пригодность) он не закрывает — их всё равно проходить руками.
Пока идёт приёмка, сервер уже сканируют боты — это происходит с любым свежим IP в первые же минуты. Не разворачивайте панели и сервисы до базового hardening: вход по ключам вместо пароля, отключённый root-логин, файрвол. Для докер-стеков помните, что Docker обходит UFW — как правильно закрыть порты контейнеров, разбирали в теме про ufw-docker.
Шпаргалка приёмки одной простынёй: systemd-detect-virt → vmstat 1 5 (steal ≤ 1–2 %) → free -h → fio randread/randwrite 4k (NVMe = десятки тысяч IOPS) → speedtest-cli дважды в разное время → mtr в обе стороны → ping -M do -s 1472 → curl -6 ifconfig.co → Spamhaus + MXToolbox → dig -x → ipinfo.io + нужные сервисы → /dev/net/tun → docker run hello-world → ToS. Всё зелёное — сервер можно обживать: дальше пригодится дорожная карта домашнего сервера, многое из неё применимо и к VPS.
Источники
- fio — документация
- iperf3 — официальный сайт
- Spamhaus IP check
- MXToolbox Blacklist Check
- YABS — Yet Another Bench Script
Какие проверки в вашем личном чек-листе приёмки? И назовите хостеров, которые у вас эту приёмку проваливали — с цифрами (steal, IOPS, чёрные списки): такая статистика сообщества полезнее любых рейтингов.