Всем привет! Продолжаю разбираться с Proxmox и параллельно настраивать контейнеры. В этой статье я пошагово покажу, как установить NextCloud в LXC-контейнере Proxmox 8 VE: от загрузки шаблона Ubuntu 22.04 до первого входа в собственное облако.
Немного о контейнерах в Proxmox
Proxmox позволяет создавать не только виртуальные машины, но и контейнеры. Причём контейнеры создаются на основе шаблонов операционных систем: то есть поднимается что-то «минимальное» из всей операционки. Это компактнее с точки зрения экономии места, и это полезно для контроля ресурсов.
Конечно, контейнер можно «засунуть» и в Docker, но управление через Proxmox в этом случае будет неполноценным. Хотя можно, конечно, поставить и Portainer — с ним мы разберёмся чуть позже.
Шаг 1. Загружаем шаблон контейнера
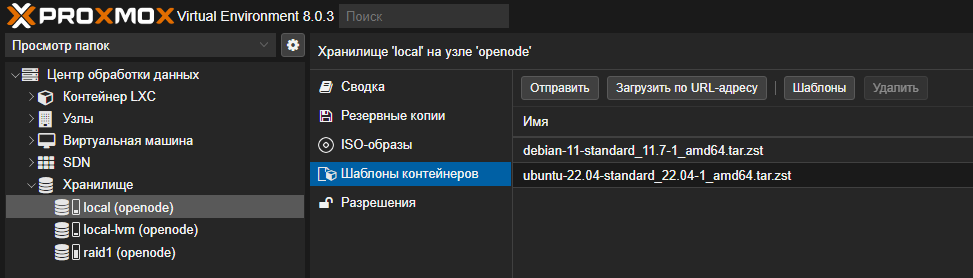
Для создания контейнера нам сначала нужен шаблон:
- Выбираем хранилище local на нашем сервере.
- Переходим в раздел Шаблоны контейнеров.
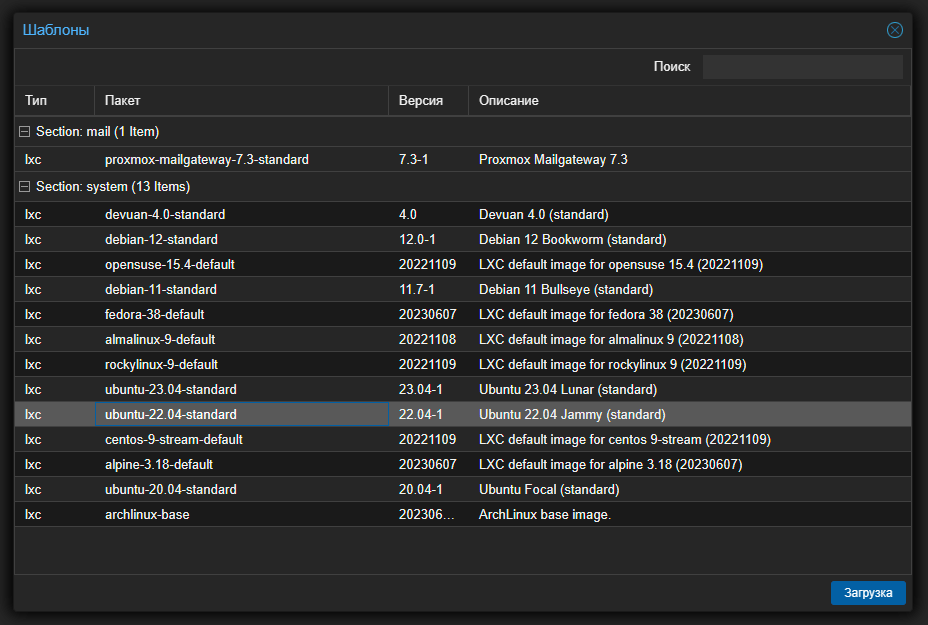
- Жмём кнопку Шаблоны.
В перечне выбираем Ubuntu 22.04 и жмём Загрузка:
После загрузки шаблон появится у нас в списке (см. первый скриншот).
Шаг 2. Создаём LXC-контейнер
Далее жмём в самом верху кнопку создания контейнера:

Появится окно мастера создания контейнера:
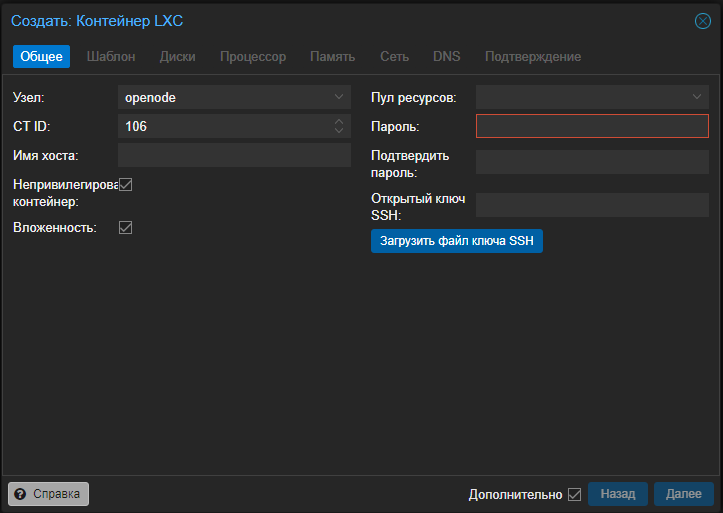
Общие настройки
Заполняем Имя хоста и Пароль. Имя хоста мы особо нигде использовать не будем, поэтому указывайте такое, чтобы было понятно вам. А вот пароль понадобится для авторизации в консоли контейнера.
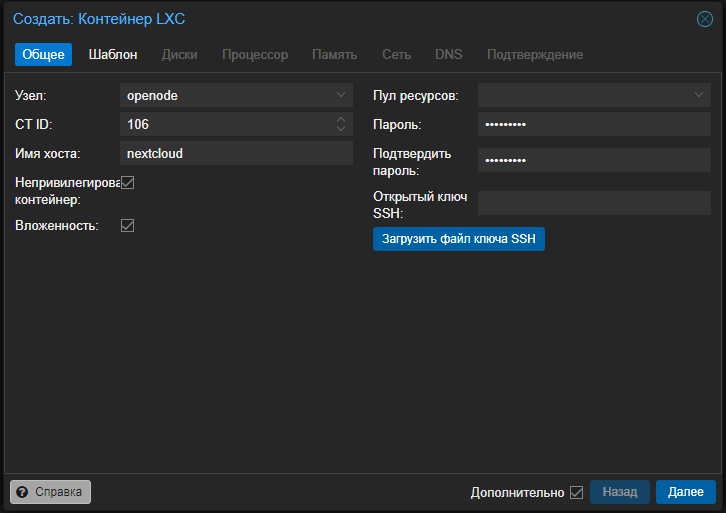
Идём Далее.
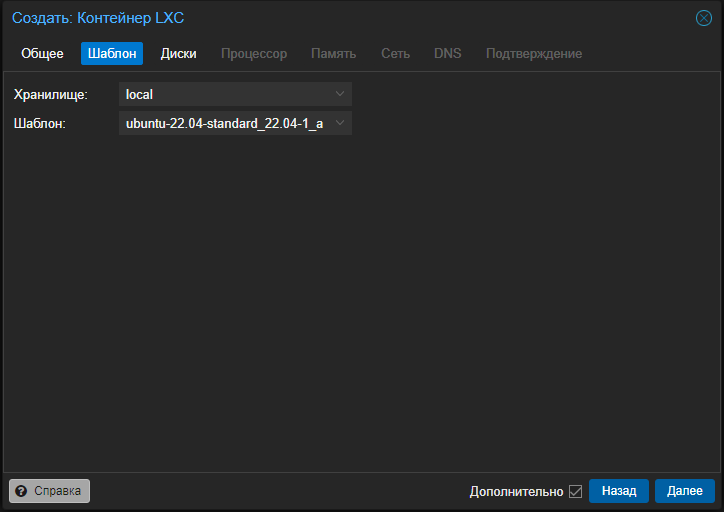
Шаблон
Выбираем наш шаблон ubuntu 22.04:
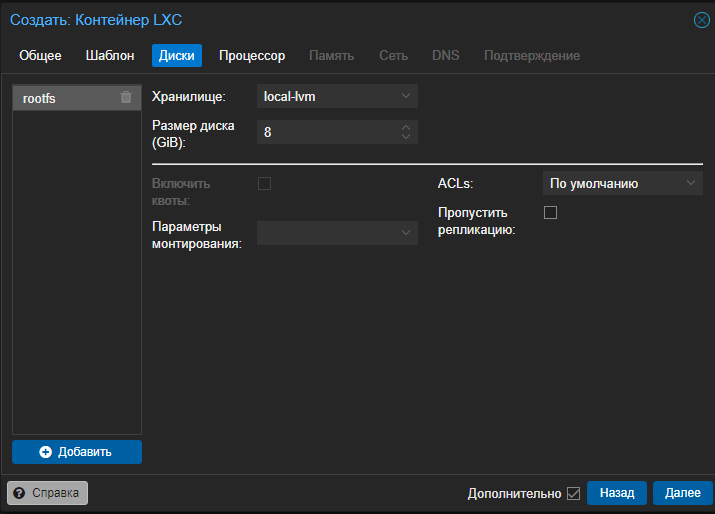
Диск
Места выделяем 8 ГБ — этого хватит под систему:
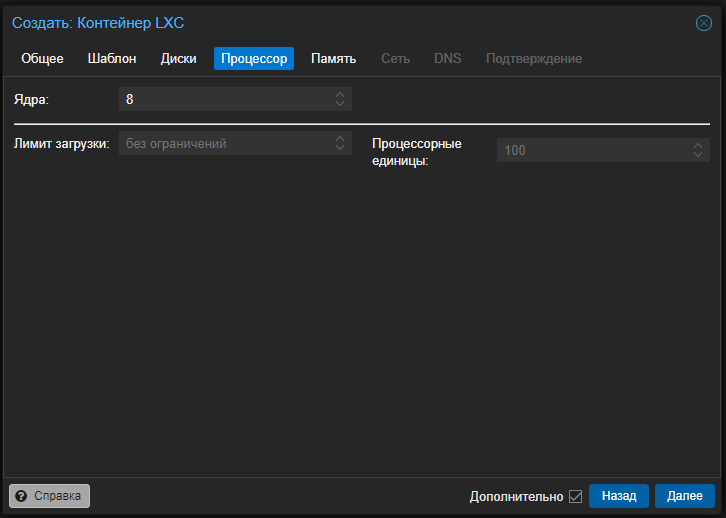
Процессор
Далее на вкладке Процессор задаём Ядра. Я советую не меньше 4 ядер — это будет полезно при обработке фотографий. У меня запас есть, поэтому я выделю 8 ядер.
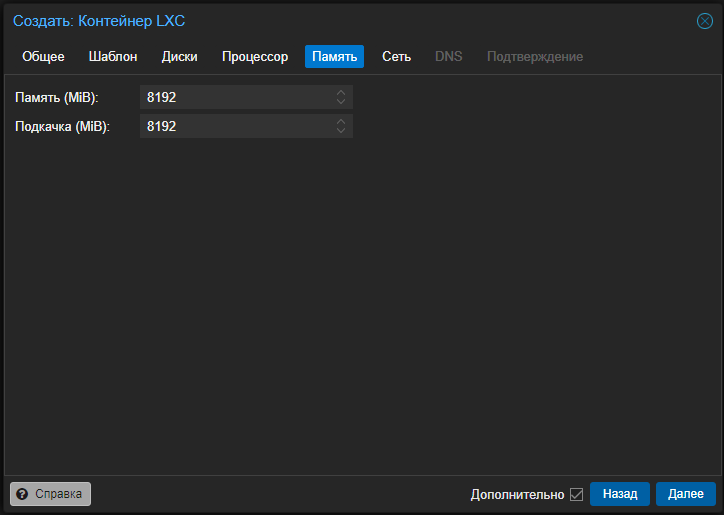
Память
Приложение у нас будет достаточно требовательным к ресурсам. У меня 64 ГБ памяти на сервере (и планирую его расширить потом до 128), поэтому я выделяю под NextCloud 8 ГБ. Вам же могу порекомендовать выделить не менее 4 ГБ и столько же подкачки (SWAP):
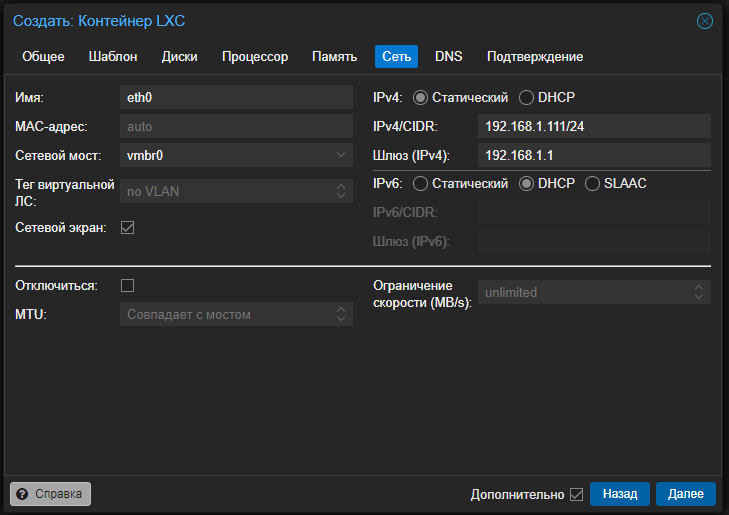
Сеть
Задаём статический IP или используем DHCP-сервер:
DNS и создание
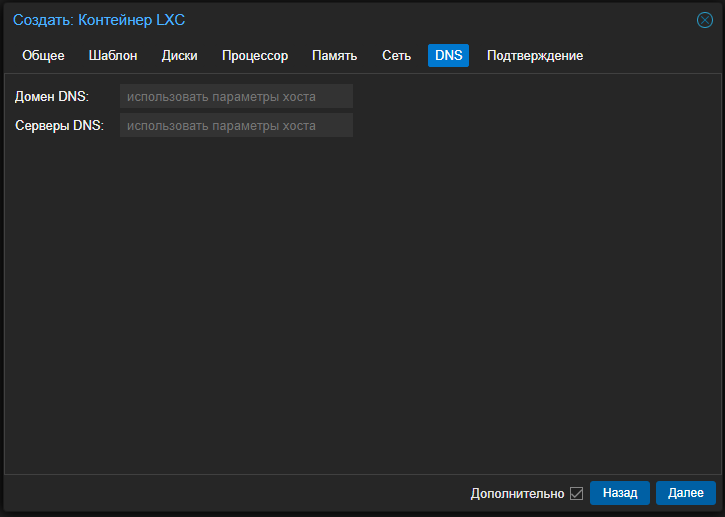
Вкладку DNS оставляем по умолчанию — и создаём контейнер:
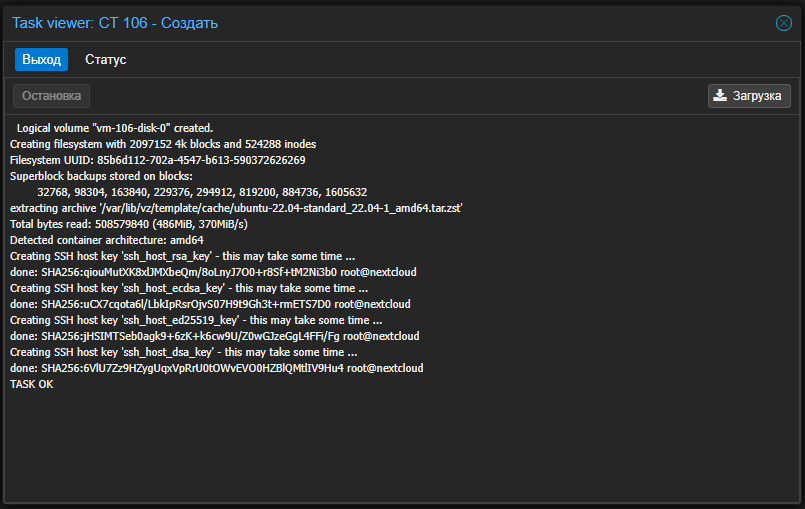
Получаем TASK OK:
Шаг 3. Включаем FUSE
Выбираем наш контейнер, заходим в Параметры и выбираем Возможности → Редактировать:
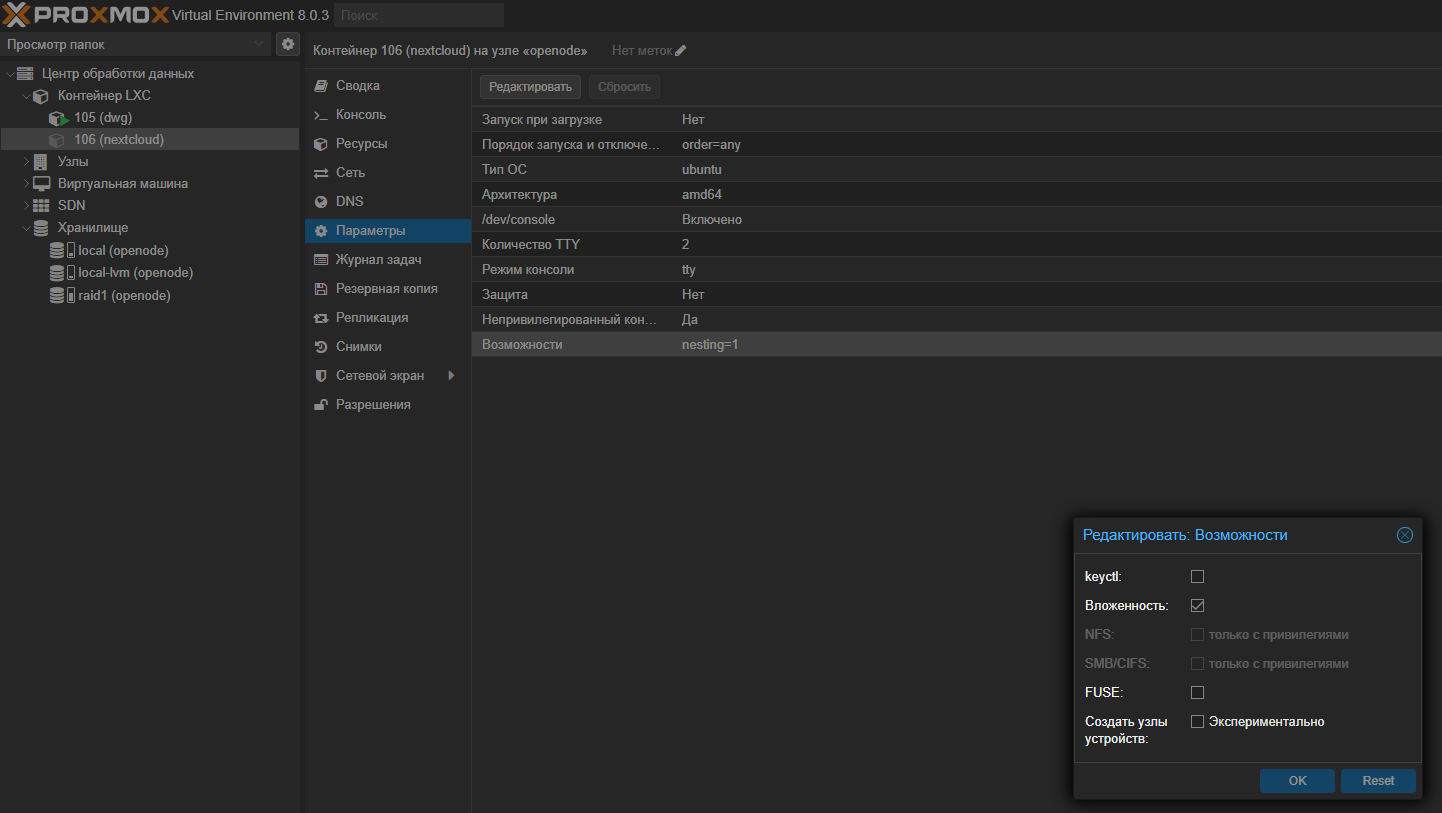
Здесь нам нужно включить FUSE и нажать OK:
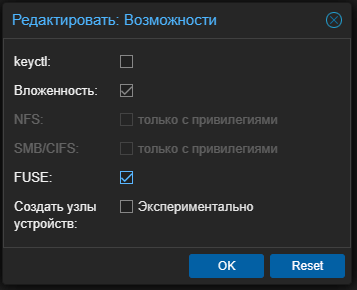
FUSE (англ. filesystem in userspace — «файловая система в пользовательском пространстве») — свободный модуль для ядер Unix-подобных операционных систем. Он позволяет разработчикам создавать новые типы файловых систем, доступные для монтирования пользователями без привилегий (прежде всего — виртуальных файловых систем).
Шаг 4. Запускаем контейнер и обновляем систему
Запускаем контейнер:
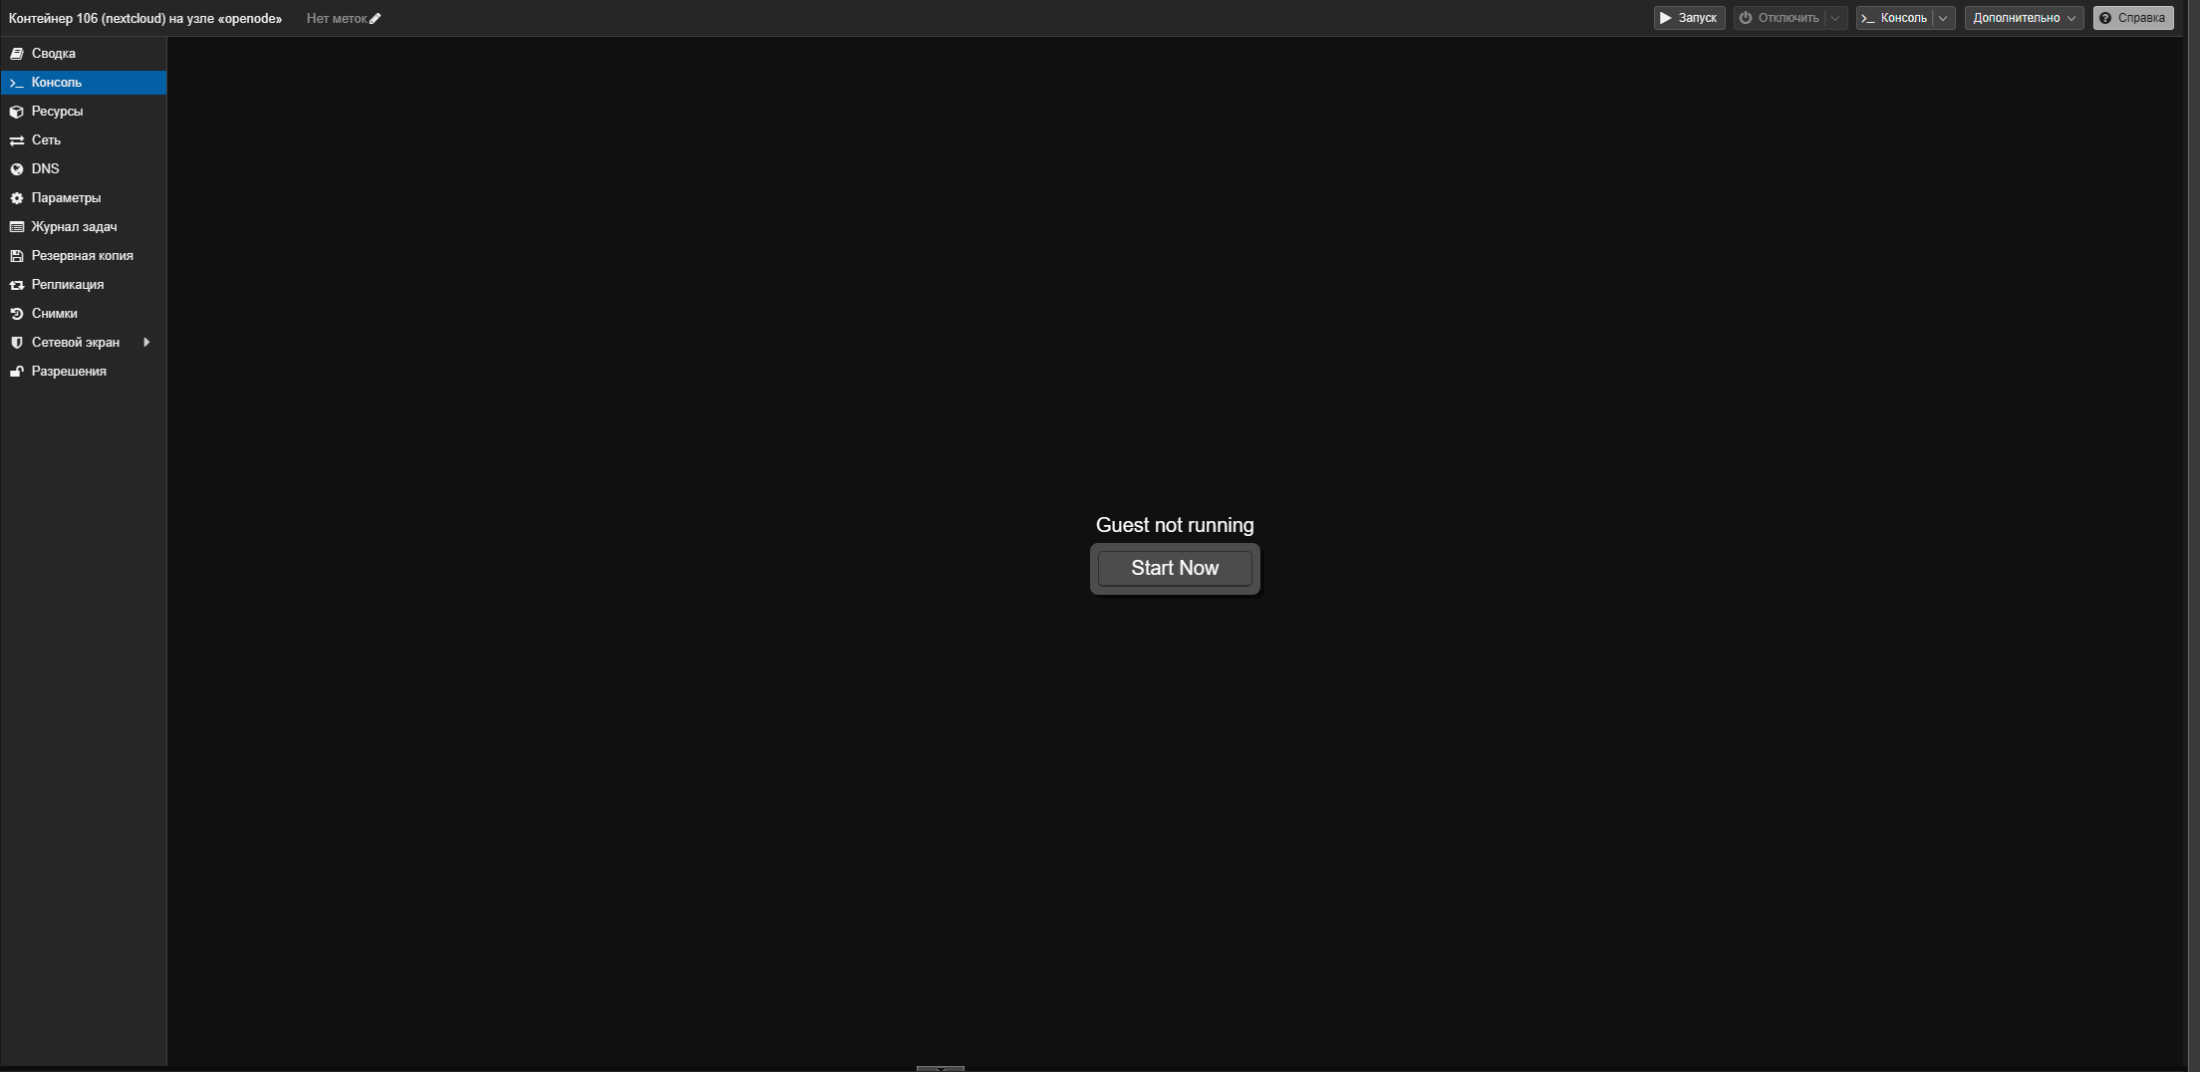
И авторизуемся:
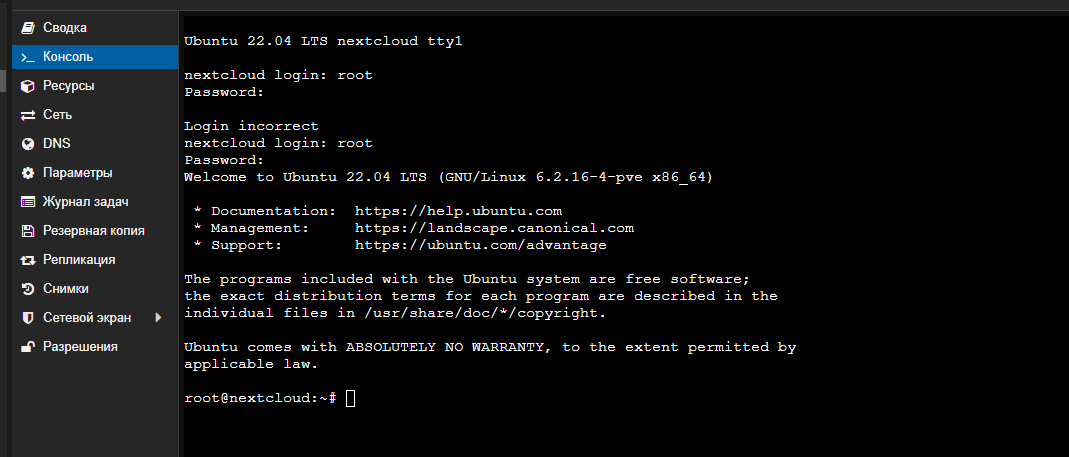
В консоли вводим команду:
apt update && apt upgrade -y
Шаг 5. Устанавливаем NextCloud через snap
Теперь, когда контейнер обновлён, пришло время установить программное обеспечение, которое мы будем использовать для установки snap-пакетов. Для этого используйте команду:
apt install squashfuse snapd -y
Используя пакетный менеджер snap, устанавливаем NextCloud (если с первого раза не запустилось — повторите команду снова):
snap install nextcloud
Первый запуск у меня был такой:

Второй запуск:

Шаг 6. Создаём пользователя в системе
Теперь нам нужно добавить пользователя в систему (я рекомендую это сделать). Пишем:
adduser <username>
Система предложит ввести пароль два раза — вводим. Также по желанию указываем дополнительную информацию и в конце выбираем Y, подтверждая, что всё ок:
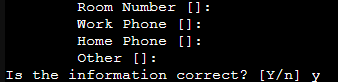
Добавляем пользователя в группу sudo:
adduser <username> sudo
Шаг 7. Настраиваем NextCloud
Создаём администратора
Создадим администратора NextCloud (в качестве username и пароля я вводил данные того же пользователя, которого создал выше):
nextcloud.manual-install <username> <password>
Добавляем доверенный адрес
Теперь нам нужно сообщить NextCloud, что мы можем доверять конкретному IP-адресу (я добавил IP-адрес нашего сервера — 192.168.1.111). Посмотреть его можно командой ip address.
Убеждаемся, что контейнер доступен по нему:
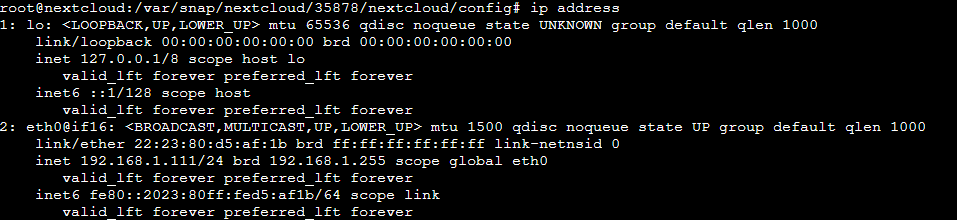
nextcloud.occ config:system:set trusted_domains 1 --value=<ip address>
Вместо IP можно добавить домен, привязанный к вашему адресу. Привязать домен вы можете, используя сервисы DDNS, или, имея белый адрес от провайдера, — привязать свой домен просто к нему:
nextcloud.occ config:system:set trusted_domains 1 --value=example.com
Обратите внимание: и то и то использовать не получится. Поэтому либо внутренний адрес, либо домен.
Шаг 8. Первый вход и настройка
Открываем NextCloud в браузере:
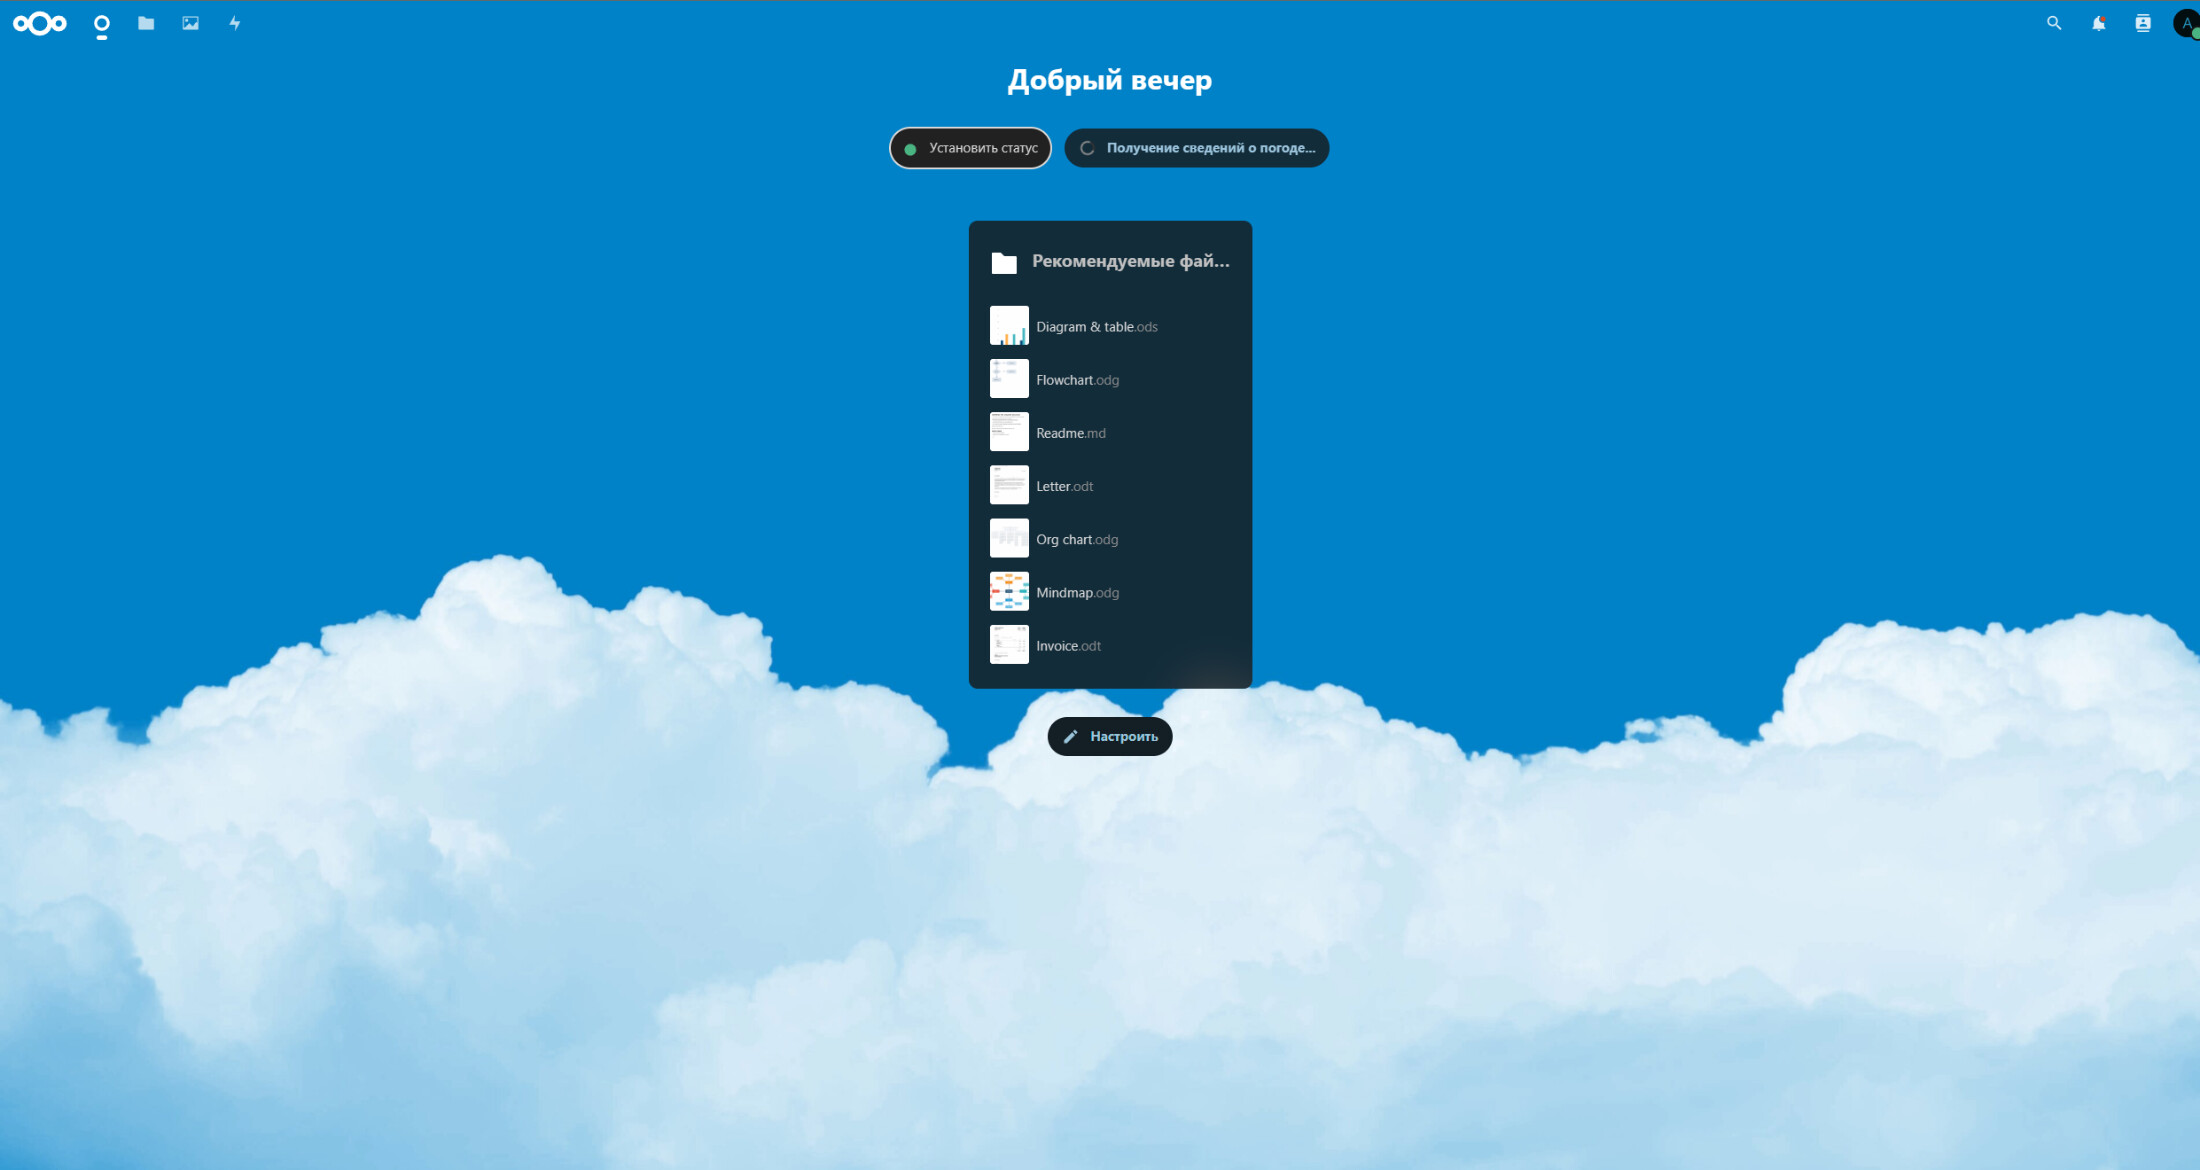
Переходим в Файлы — и тут я рекомендую удалить все заготовки:
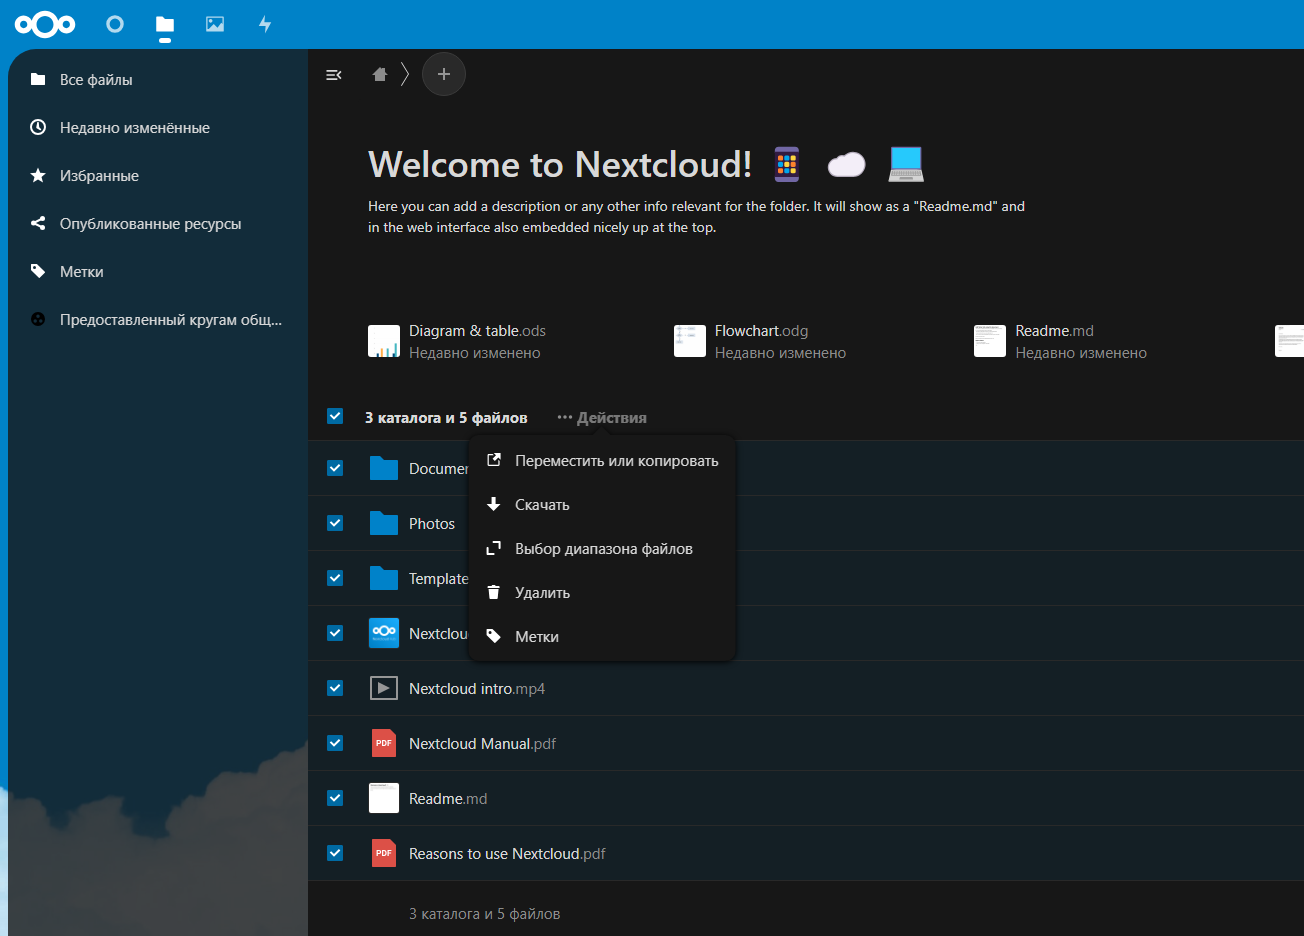
Переходим в Параметры сервера:
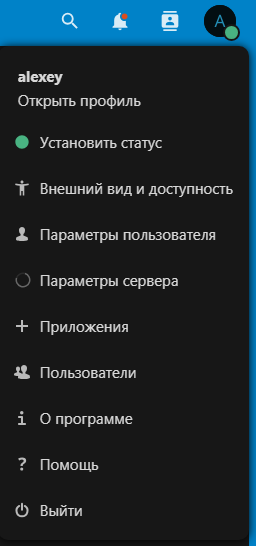
И настраиваем всё по своему желанию. Удачи!
Статья впервые опубликована 12.07.2023 на openode.xyz; перенесена и обновлена 04.08.2026.